MNMWlogo

MNMWlogo
Showing posts with label Recycle. Show all posts

Monday, March 23, 2015

Wall hanging from Milk jug and Nail polish

After a long time, I am here again with a recycling craft.

Items for this project:

Empty milk jug
Nail polish different colors
scissors and cutter
thread
Jump rings
Beads
Shape stencils as you like.
Steps:

1. Take an empty milk jug and clean it and remove the label. 
2. Cut the flat pieces from empty milk jug.
3. Iron on to remove curls.(use a cloth)
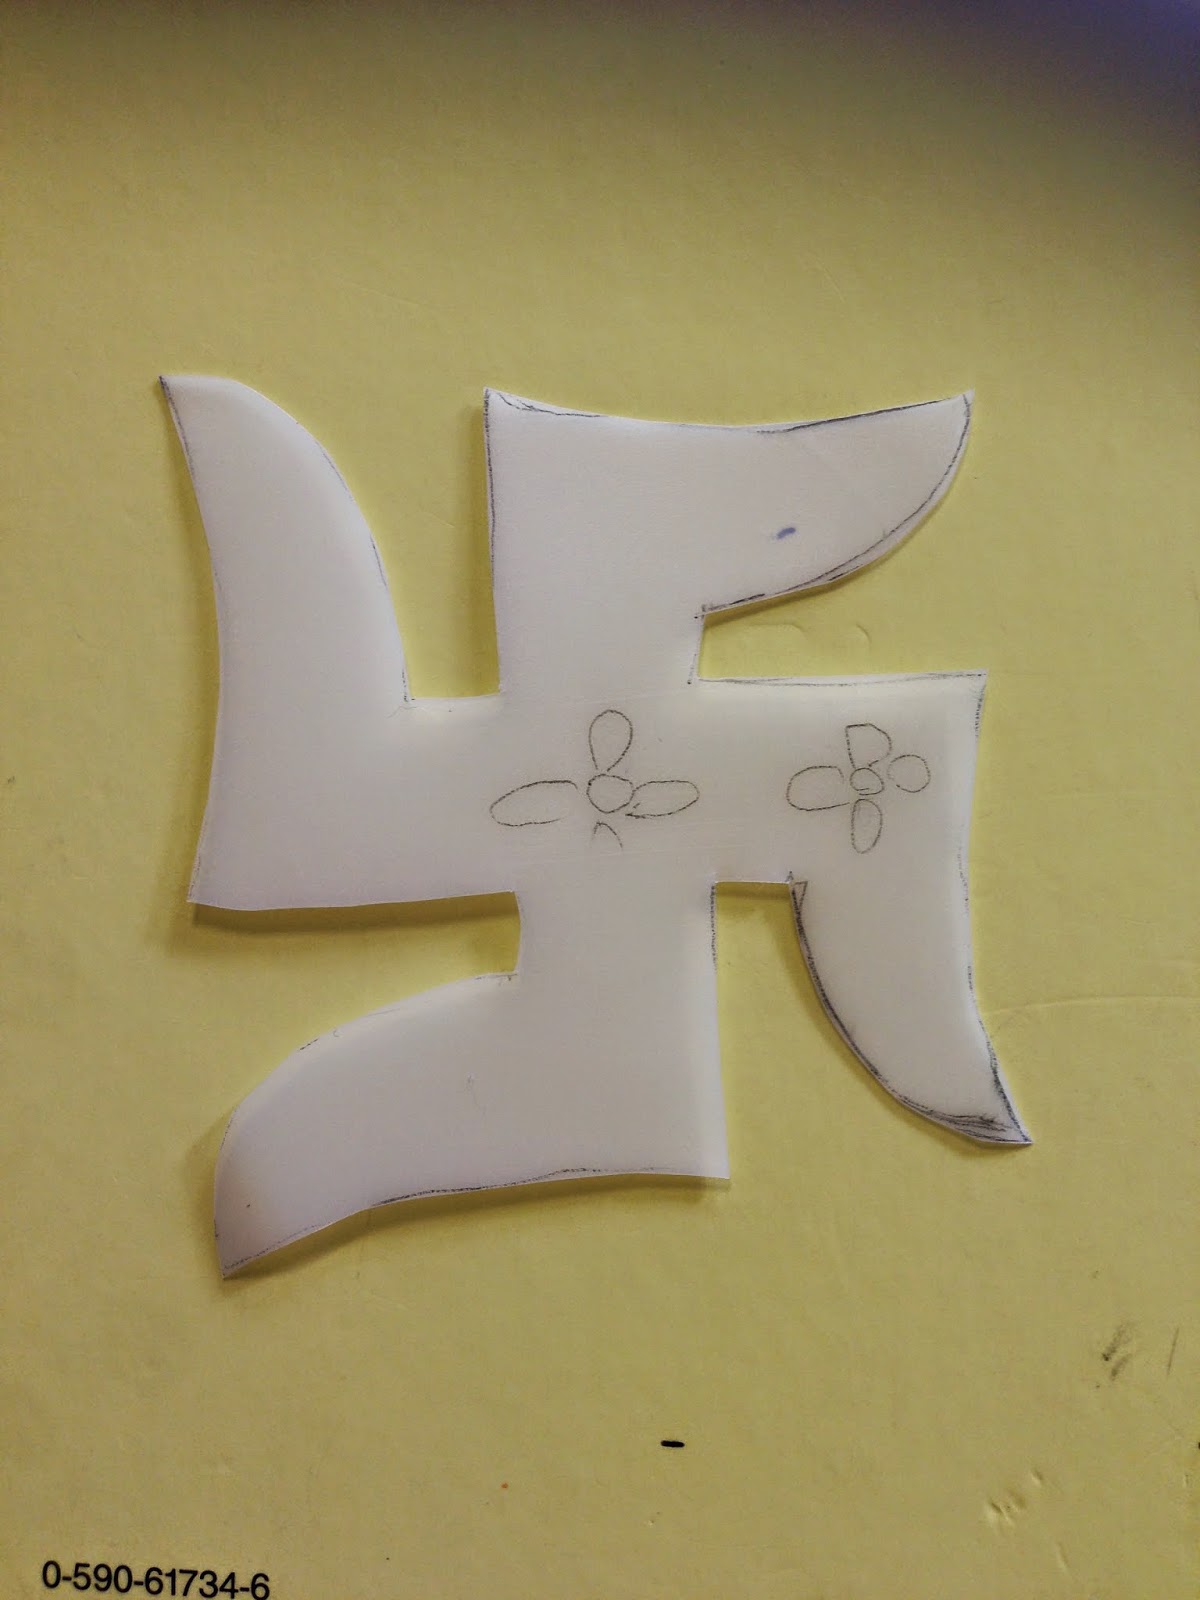
4. Trace the shape.
5. cut around the shape carefully.
6. Decorate with your favorite colors.
7. highlight it.
8. leave it to dry for one hour.
9. Make holes above and below the shapes.
10 put jump rings in those holes.
11.Using string and beads attach the pieces and hang on wall.

I hope pictures will speak more than my steps.


Items needed


I hope you enjoy this tutorial.

Tuesday, March 11, 2014

Card board Display rack

Yesterday, in my son's school there was an award function. Each kid gets an award for their unique quality. That function was really lovely. This is the second year my son is getting that award. He got some other trophies too, which I wanted to display in him room. So I was looking for a nice display rack. While searching I came across this nice cardboard display rack. This is really easy to make and is cheap. I spent 2$ for this rack.
Used cardboards(on hand)
Sticker sheet(1$)
Hot glue(1$)
Here is the link for that beautiful rack.
http://aweekfromthursday.com/2011/01/d-i-y-cardboard-shelf-tutorial/

I just replaced paint with sticker sheet that we use for counters.

here is the my display rack with my son's awards....


Friday, February 21, 2014

100 days of school project idea - Texas map with plastic caps...

My son has to do something for his 100 days of school. So I thought to help him doing that he enjoys and some thing creative. So I came up with this cute and recycling project idea. I was saving all my caps from milk cans(both cow's milk jugs and soy milk cartons), and was lucky I already have more that 100.

I used
1. paint of 3 colors. Texas flag colors - Blue,red and white.
2. Hot glue
3. a foam sheet.
4. a paper star.

Steps:

First I had one texas map and printed it at home as a poster(2x2), then I traced it placing on foam sheet to make impression.

Then,I drew according to the impression.

Now I arranged all the caps to see how they fit perfetly for the shape.

Then divide them according to the flag colors.

Color the caps accordingly.

Now using hot glue, Stick them to the foam sheet, place the star on it.
I added a simple border with some caps and a compass.
Voila.....

its done.( caps in texas and border and compass all together 100)


Wednesday, November 27, 2013

Cardboard swan - Wall hanger/decor....

Recently I got many packages from amazon and my storage was filled with lot of cardboard boxes...
So I thought to use them in my craft work and it came out well...
here is what I have tried

Items used
cardboard
Black Velvet cloth
white paper
scissors
Craft knife
a lace
glitter
All purpose glue/Fabric Glue

Step 1
Cut the cardboard in to A4 size(8.3inx11.7in) using craft knife/scissors.

Step 2
Take a velvet cloth 1 inch more of cardboard. Here we took cardboard of 8.3 in x 11.7 in. so we need velvet cloth of 9.3in x 12.7in. 

Step 3
Using fabric glue or all purpose glue, cover the cardboard with velvet cloth.
Step 4
Now draw a design(here i took swan) on white paper, and cut each piece of design into individual pieces.


Step 5
Take another cardboard and trace each piece of design on it.
Cut those design pieces using crafts knife.
Drawing on white paper and tracing makes the design crisp and neat.


Step 6
Now stick the cardboard pieces on the cardboard covered with velvet cloth.

Step 7
Rest is our taste. I used glitter to cover the card board edges and as a border I used a beautiful lace.


Step 8
Make a provision for hanging using the same lace.
Voila....it's done...


Friday, November 15, 2013

Candle stand/holder with Lemon juice bottle-Recycling craft

Whenever I see a plastic bottle of any kind I feel like either recycle it or doing some thing out of it. Lemon juice bottle, which I rarely use, is there in our fridge from so many days. I thought it crossed it's expiration date and I just emptied it. When I saw the bright color of that bottle and as Christmas is around, I could just think of a candle stand out of it. So i tried and outcome was wonderful.
Here is what I did....
Items Used
1. Lemon juice bottle
2. Glitter
3. Glue
4. Scissors
5. Hot glue
6. Candle, of course.
7. Marker(brown or purple)
8. Cotton swabs-2

Steps


1. Separate the base of the bottle using scissors. Keep this base aside, later we will use it.


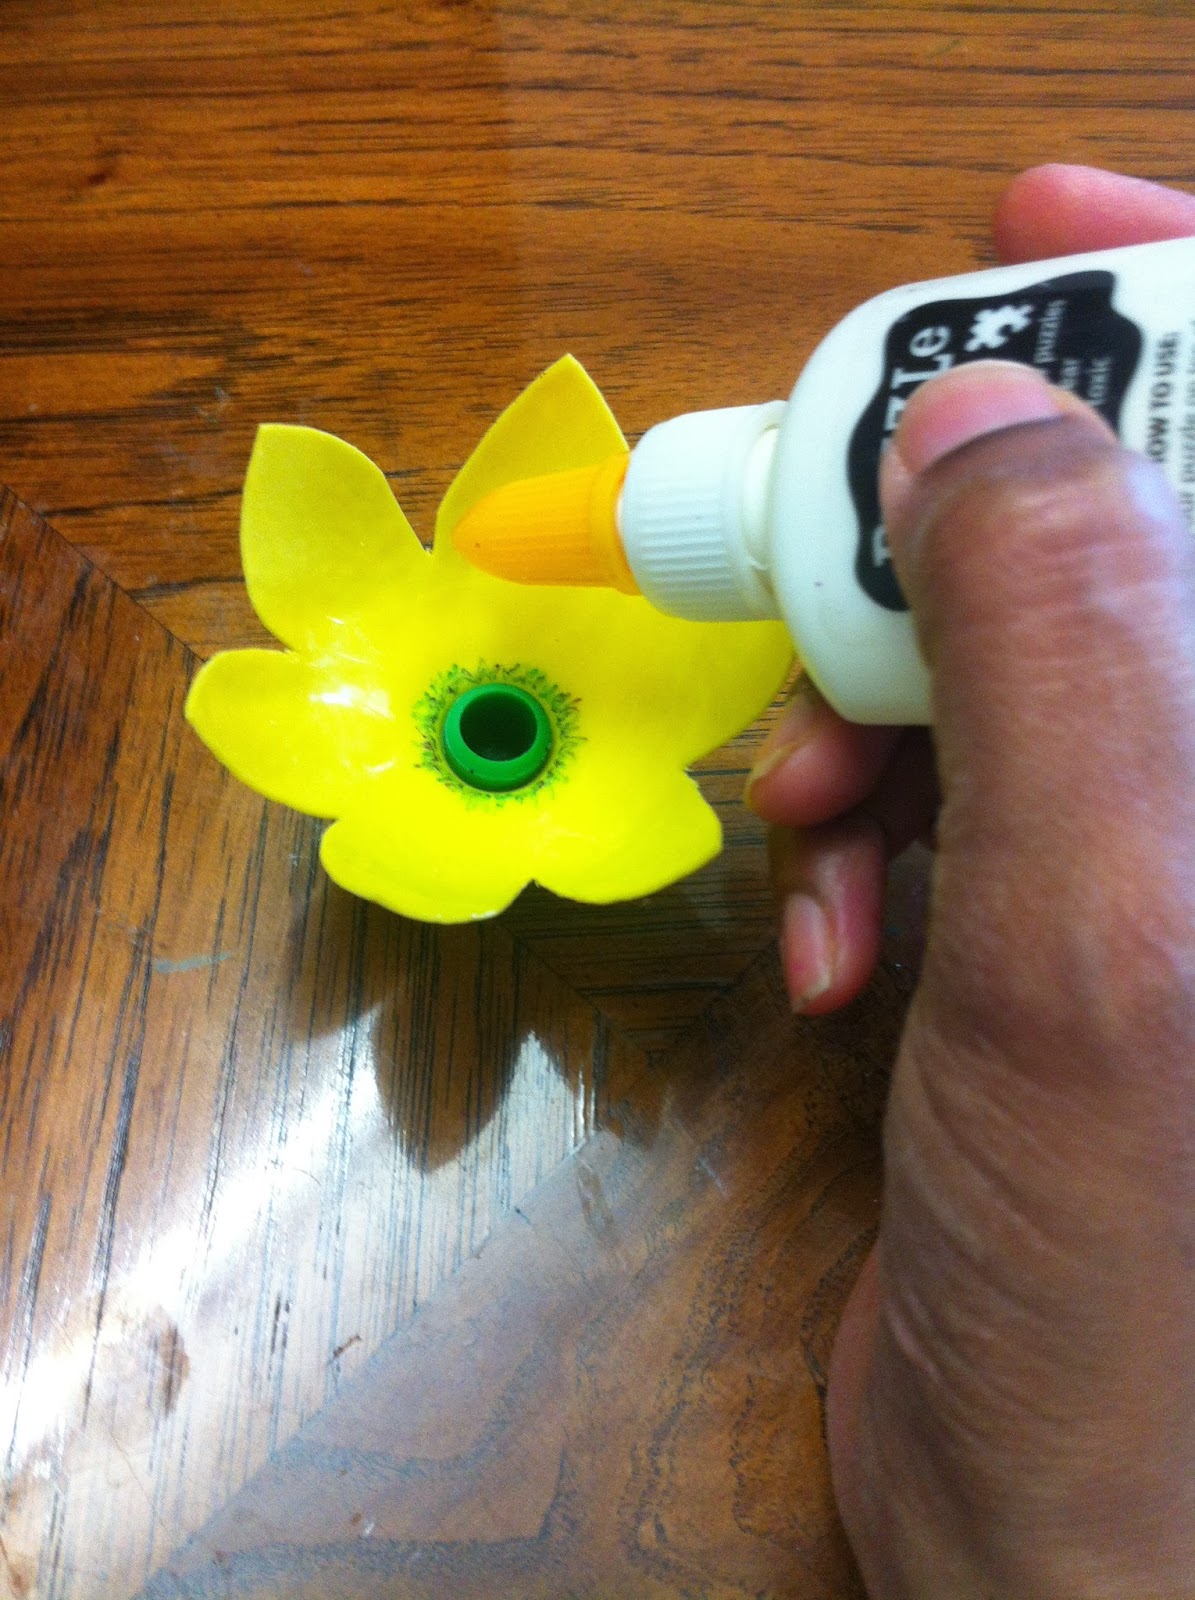
 2. Draw petals as shown and cut them using scissors.
3. It should look like this.
Just press it a little bit to open up the petals as shown.

 4. Remove the cap and trim it as shown.
5. I used candle to avoid sharp edge.

6. Using marker, in the center, draw some pollen.
7. apply glue around inside of the petals, and sprinkle glitter.

8. Shake off the extra glitter. I used cotton swabs to remove glitter that stuck on.
9. Repeat the same thing on the outer side of the petals.
10. Using hot glue attach the base as shown in the pic.

11.Ta da.... You are done....place the candle and light it...and enjoy !!!